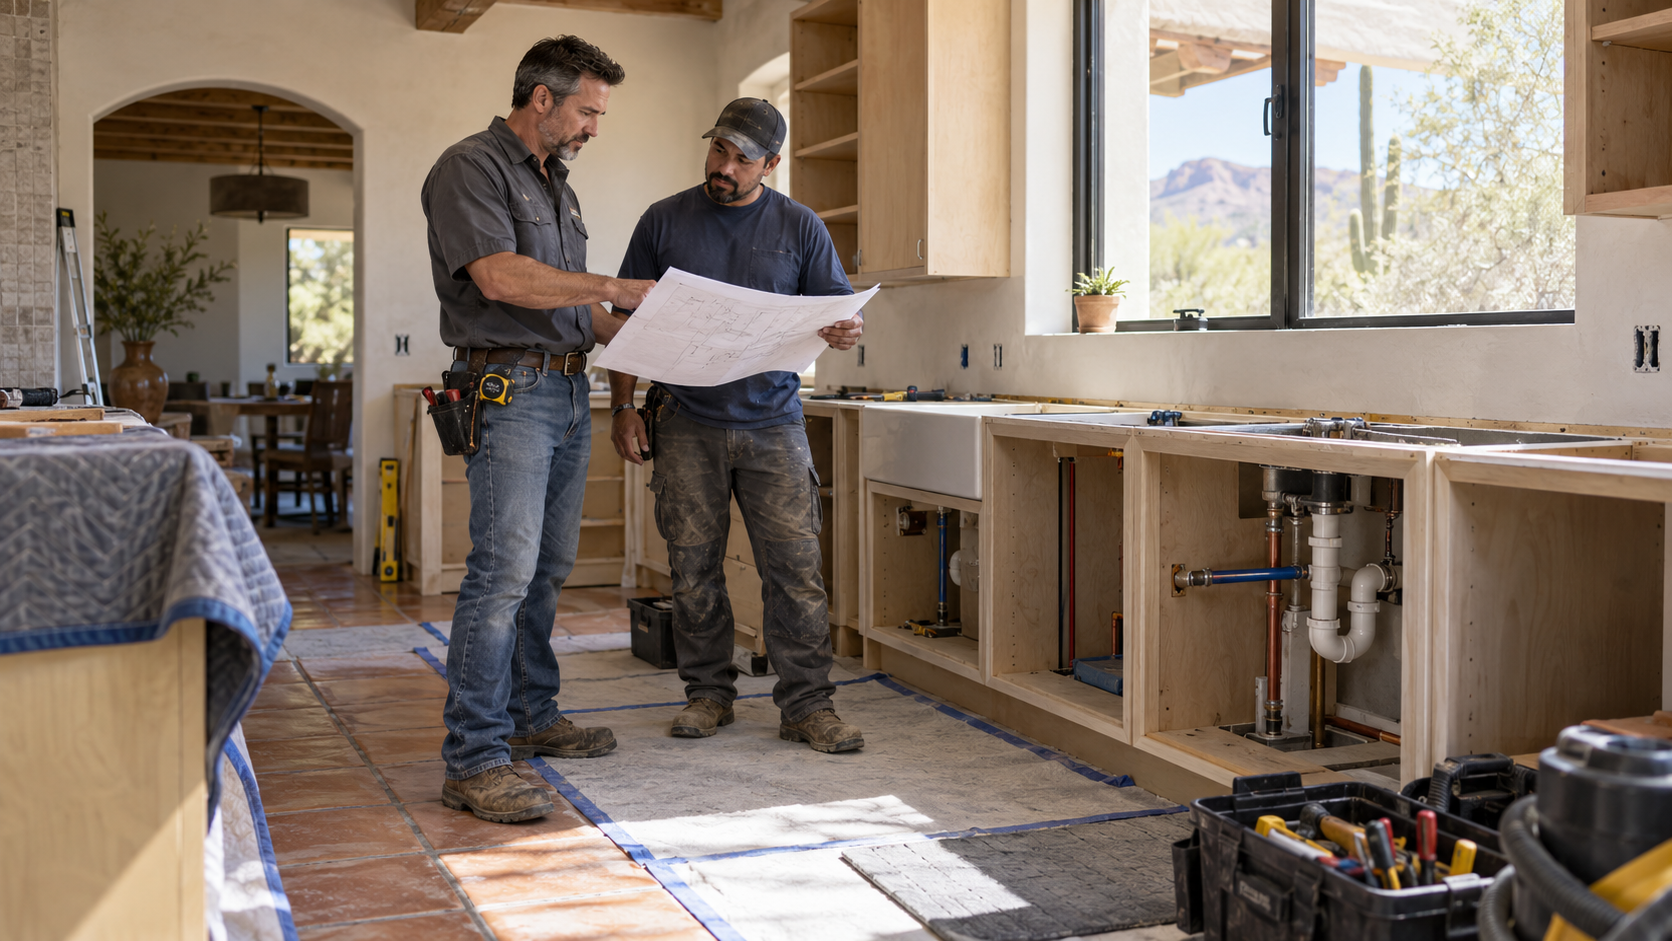
After the water is gone, a room can look ready to put back together. The baseboards are off, the flooring order has been priced and the contractor can picture where the drywall will go. But rebuilding too early can cover a damp wall, leave an unresolved leak behind the new work or create a second demolition bill when an inspection is required.
A rebuild after flooding has several handoffs. Each trade should know what was affected, what is ready for their work and what still needs to be confirmed. The most useful plan starts while the walls are still open.
Start with a restoration handoff
Ask the restoration team for the scope they worked from and the final status for each room. At minimum, you need to know how the water entered, where it spread, what was removed and what stayed. Request any available drying and cleaning records, including a list of areas that could not be inspected. A report that says the master bedroom was dry is more helpful if it says whether that included the closet wall shared with a wet bathroom.
Exterior runoff and sewage are potential sources of contamination. When either is suspected, ask how the affected assembly was evaluated and what work remained after cleanup. Keep the site closed to casual visits if safe access is uncertain. The EPA's flooded homes guidance covers re-entry, cleaning and drying. Hire the appropriate qualified trade if there is a concern about electrical equipment, structural damage or other hazards.
If cleanup is still underway, review the steps involved in flood damage restoration so you know which findings to request before estimating the rebuild.
Assign responsibility for solving the water source
Write down the difference between the steps that stopped the emergency and the repair that prevents another event. A plumber may cap a leaking line during extraction and return to install a replacement. A temporary cover can keep rain out while an exterior opening is evaluated. A crew may clear debris from a grate without establishing why water reached the threshold.
Identify who owns the permanent repair and who will confirm it was completed. If the original incident involved overland water from a storm, the solution may involve grading, an exterior drain or a detail at the building opening. Rebuilding an interior wall leaves that work outstanding if it is never assigned to anyone. Share the photos of the original water route before exterior conditions change or a new hardscape surface is installed.
Tie the source correction to the construction schedule. A new shower wall over repaired piping should wait for whatever testing or inspection is required. A room with an unresolved drainage issue may need temporary protection and periodic checks while the permanent plan is designed. Make those dependencies visible on the schedule so an installer does not show up to close a wall that needs to remain open.
Use the exposed wall as a chance to document the building
A partial demolition reveals details that will be hard to see after the finishes go back. Take photographs of the construction assembly and identify their locations. Wide images give context and close-ups show the piping, backing, wiring or previous alteration that might explain a repair decision. Keep the photos with the project record rather than relying on someone to remember what was under the old cabinets.
Mark items that need specialist evaluation. A framing member that has changed shape, a crack with movement, a damaged service connection or a question about how a wall is supported can affect the sequence of work. A contractor can arrange the appropriate evaluation and share its findings with the other trades. Avoid treating an unrelated defect as proof of flood damage. Record what can be observed, then establish the repair scope from that evidence.
List the affected rooms individually in the estimate. A good scope distinguishes work to restore the original function from adjacent cosmetic work and owner-selected changes. If the old baseboards run past the wet room, state whether the price includes repainting a continuous section. For cabinets, list which boxes or panels are being replaced and whether the countertop can remain. This makes it easier to see what changed if new information appears after work begins.
Resolve permits and concealed work before closing
Check requirements with the permitting authority that serves the property. Cosmetic finish replacement and changes to structural, electrical or plumbing systems can have different requirements. Existing open walls offer an opportunity to confirm required inspections without cutting new finishes later. Assign responsibility for permits and inspections in the project scope so everyone knows who is booking them and where results are recorded.
Plan concealed work first, including the tests and inspections needed for the actual scope. When multiple trades will share an opening, agree on locations and clearances before the first installation makes them difficult to change. Cabinet blocking, access to a shutoff and a receptacle behind an appliance are inexpensive to discuss while the wall is open. Moving them after drywall and paint costs time and money.
Ask whether the schedule has an allowance for a changed condition. If removing a wet cabinet reveals more damage behind it, photograph the area, describe how it affects the original scope and price the additional work before proceeding. Explain whether the work is needed for a safe repair, is a finish-matching decision or is an upgrade. Good written change orders protect both the property owner and the trades.
If occupants must live elsewhere or a business needs to reopen in stages, plan which rooms can be released together. Doors, a working bathroom, temporary separation from dust and safe paths for people and subcontractors may matter more than the room that appears closest to done. Ask who has authority to release an area and what still has to happen before occupants use it. A temporary route shown on the plan helps prevent damage to new finishes and keeps people away from areas still under repair. Make sure the agreement distinguishes a space usable for access from one ready for full occupancy.
If repair costs or insurer documentation affect when you can authorize new work, agree on that timing in writing. Keep the emergency and reconstruction scopes separate in the estimate so line items can be tracked. Request photographs and dimensions before covering the work. They can help someone reviewing an approved change understand why the crew needed more access or new material.
Check the surface requirements for new finishes
A drying record helps show that the affected structure reached the restoration team's targets. The selected flooring and adhesive may have separate instructions for substrate condition and testing. Share the drying record and room history with the installer and ask them to confirm the floor is ready for their product. This matters especially where a covering will limit drying after installation.
Avoid ordering a whole room of replacement material until dimensions and transitions are confirmed. A doorway that used to have tile on both sides might need a different finish height if one side changes material. A cabinet footprint may affect floor continuity. Record which finish is going in first and what measurements depend on another trade. If a preferred finish is backordered, agree on whether a substitute changes the detailing or schedule before approving it.
Keep a closeout package that the next owner can understand
Collect the source repair record, final restoration findings, site photos, permits and inspection records where applicable, and the list of installed materials. Keep warranty and maintenance information for drains, doors and any other feature that was part of the repair. Make sure someone can find shutoffs and access points even after cabinets, trim and furniture are back in place.
On the final walkthrough, revisit the original entry point and every room the report identified. Confirm what was completed and list any open follow-ups with a responsible contractor and due date. If possible, keep matching finish samples and note where to find them. The records will help the next time a small repair is needed, and they preserve the reasons behind each decision if you sell or manage the home from elsewhere.
The goal is to close the walls once, after the source is addressed, the affected assembly is ready and the required work has been checked. A clear handoff from restoration to reconstruction makes that goal easier to reach.
Easy steps to create a color palette
Lorem ipsum dolor sit amet, consectetur adipiscing elit lobortis arcu enim urna adipiscing praesent velit viverra sit semper lorem eu cursus vel hendrerit elementum morbi curabitur etiam nibh justo, lorem aliquet donec sed sit mi dignissim at ante massa mattis.
- Neque sodales ut etiam sit amet nisl purus non tellus orci ac auctor
- Adipiscing elit ut aliquam purus sit amet viverra suspendisse potent
- Mauris commodo quis imperdiet massa tincidunt nunc pulvinar
- Excepteur sint occaecat cupidatat non proident sunt in culpa qui officia
What is a color palette?
Vitae congue eu consequat ac felis placerat vestibulum lectus mauris ultrices cursus sit amet dictum sit amet justo donec enim diam porttitor lacus luctus accumsan tortor posuere praesent tristique magna sit amet purus gravida quis blandit turpis.

Don’t overspend on growth marketing without good retention rates
At risus viverra adipiscing at in tellus integer feugiat nisl pretium fusce id velit ut tortor sagittis orci a scelerisque purus semper eget at lectus urna duis convallis porta nibh venenatis cras sed felis eget neque laoreet suspendisse interdum consectetur libero id faucibus nisl donec pretium vulputate sapien nec sagittis aliquam nunc lobortis mattis aliquam faucibus purus in.
- Neque sodales ut etiam sit amet nisl purus non tellus orci ac auctor
- Adipiscing elit ut aliquam purus sit amet viverra suspendisse potenti
- Mauris commodo quis imperdiet massa tincidunt nunc pulvinar
- Adipiscing elit ut aliquam purus sit amet viverra suspendisse potenti
What’s the ideal customer retention rate?
Nisi quis eleifend quam adipiscing vitae aliquet bibendum enim facilisis gravida neque euismod in pellentesque massa placerat volutpat lacus laoreet non curabitur gravida odio aenean sed adipiscing diam donec adipiscing tristique risus amet est placerat in egestas erat.
“Lorem ipsum dolor sit amet consectetur adipiscing elit, sed do eiusmod tempor incididunt ut labore et dolore magna aliqua enim ad minim veniam.”
Next steps to increase your customer retention
Eget lorem dolor sed viverra ipsum nunc aliquet bibendum felis donec et odio pellentesque diam volutpat commodo sed egestas aliquam sem fringilla ut morbi tincidunt augue interdum velit euismod eu tincidunt tortor aliquam nulla facilisi aenean sed adipiscing diam donec adipiscing ut lectus arcu bibendum at varius vel pharetra nibh venenatis cras sed felis eget.